
Meta Description: Install YSS G-Series rear shocks on your Yamaha NMAX with this step-by-step torque guide, tool list, and pro installation tips.
Technical Summary
The Yamaha NMAX rear shock absorbers control rear wheel oscillation and maintain tire contact with the road surface during compression and rebound cycles. Factory shocks typically require replacement or upgrade when damping performance degrades, usually between 15,000 and 25,000 miles depending on riding conditions and load.
This guide covers the complete removal and installation procedure for both left and right rear shock units on the Yamaha NMAX scooter, including the YSS G-Series aftermarket upgrade. All torque values, bolt sizes, and tool requirements are specified for a safe, professional-grade installation.
Technical Specifications & OEM Part Numbers
| Component | Specification | Notes |
|---|---|---|
| Left Shock Top Bolt | 12mm hex head | Accessible after airbox removal |
| Left Shock Bottom Nut | 14mm hex | Requires ratcheting spanner for access |
| Right Shock Top Nut | 12mm hex | Exhaust clearance required |
| Right Shock Bottom Nut | 14mm hex | Ratcheting spanner recommended |
| Airbox Mounting Bolts | 10mm socket | Two bolts, front and rear position |
| Washer Configuration | 2 washers per shock | One on each side of suspension arm |
| YSS G-Series Preload | Adjustable collar | Clockwise increases, counterclockwise decreases |
| Locking Screw Tool | Allen key (included) | Prevents preload collar movement |
Required Tools & Torque Settings
Essential Tools
- 10mm socket wrench — airbox removal
- 12mm socket wrench — left shock top bolt
- 12mm ratcheting spanner — right shock top nut
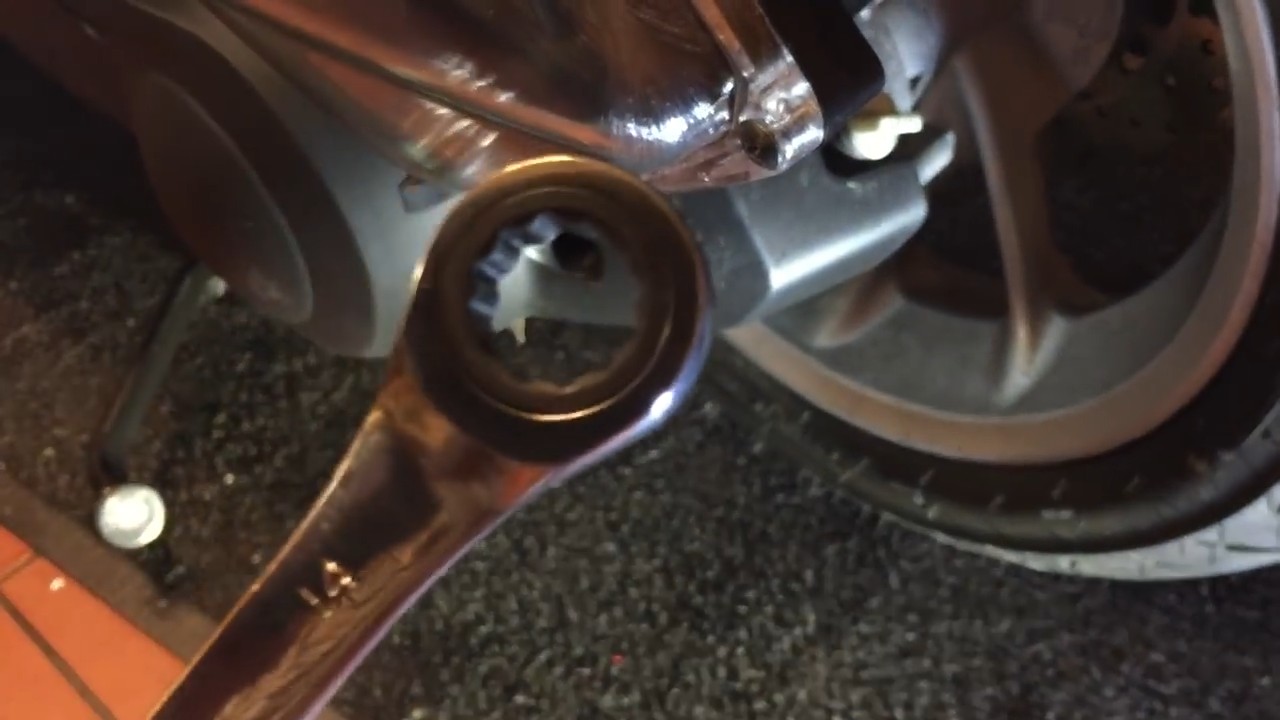
- 14mm ratcheting spanner — bottom shock nuts (both sides)
- Adjustment tool — included with YSS springs
- Allen wrench — included with YSS springs for locking screw
- Calipers or paper strip — preload measurement
Torque Guidelines
- All bolts should be tightened to snug fit only — do not overtighten
- Overtightening will damage suspension components and mounting points
- Verify all fasteners are secure before road testing
Diagnostic Symptoms
- Excessive rear wheel bounce — worn damping allows the rear wheel to oscillate after bumps
- Oil leakage on shock body — visible fluid residue indicates seal failure
- Bottoming out — rear suspension compresses fully under normal load
- Reduced ride height — sagging rear end when parked suggests spring fatigue
- Clunking noise over bumps — worn bushings or loose mounting hardware
Step-by-Step Replacement Guide
Left Side Shock Removal
- Secure the scooter — place the Yamaha NMAX on the center stand. This allows the rear wheel to rotate freely and provides a stable working platform.
- Remove the airbox mounting bolts — locate the two 10mm bolts securing the airbox. One is positioned at the front, and one is at the rear underside. Remove both using a 10mm socket wrench.
- Disconnect the breather hose — at the rear of the airbox, locate the breather hose. Pinch the pipe and pull it backward to release the edge clip. Set the hose aside.
- Move the airbox aside — with both bolts and the hose removed, the airbox has enough movement to access the shock mounting points. You do not need to completely remove it.
- Remove the top shock bolt — the 12mm bolt is now visible. Use a 12mm socket wrench to remove it.
- Remove the bottom shock nut — look inside the suspension arm area to locate the 14mm nut. Use a 14mm ratcheting spanner for easier access.
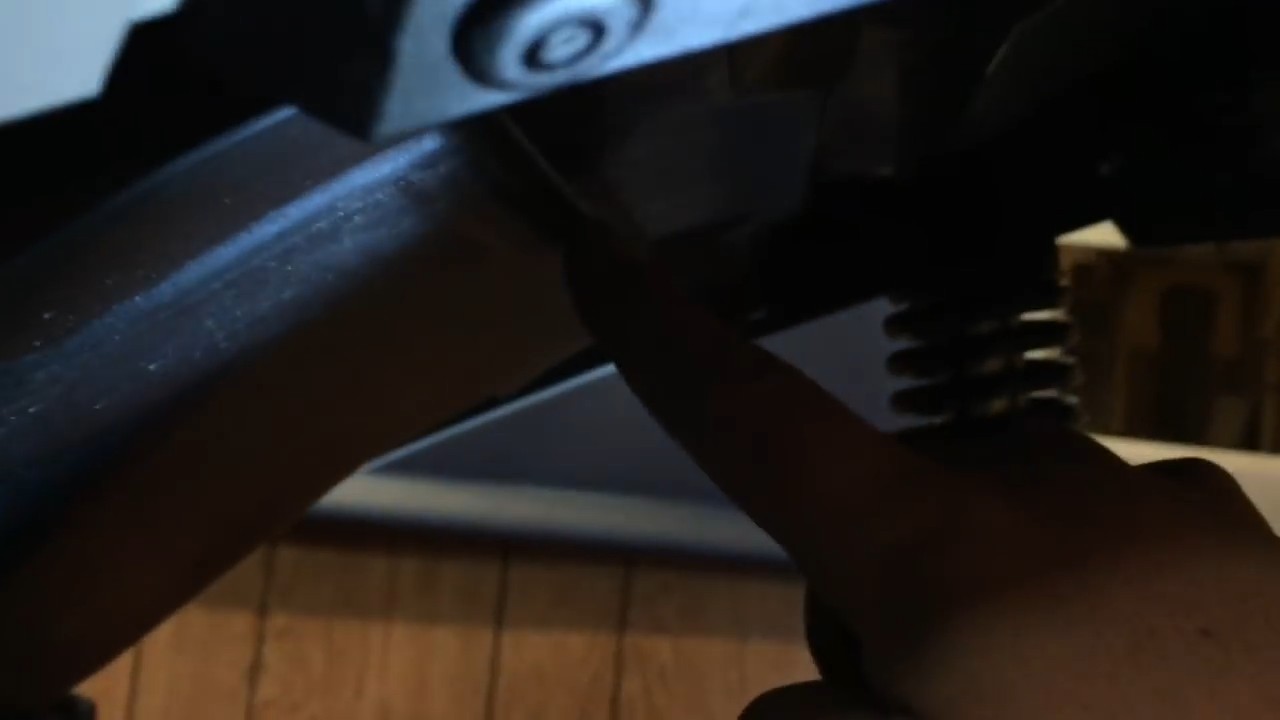
- Note the washer configuration — the assembly order is: first washer on the rod, then the suspension arm, then the second washer, then the nut. This sandwiches the arm between the two washers.
- Remove the shock — pivot the shock arm and wiggle it free. It may require some force. Use both hands if necessary.
Pro-Tip / Field Warning
Do not panic if you drop the nut or washers into the frame cavity. Yamaha has designed a catch tray beneath the mounting area. Dropped parts will either slide out through the channel opening at the end or can be retrieved by pulling down on the access tray. If the nut falls deeper, use a magnetized tool or makeshift magnetic pickup to fish it out through the seat area. The parts are never permanently lost inside the bike.
Left Side Shock Installation
- Position the first washer — slide it onto the mounting rod.
- Hook the shock arm — carefully angle the YSS shock and hook the bottom arm onto the rod. Push it all the way to the end.
- Install the second washer — place it on the end of the rod against the suspension arm.
- Thread the nut — this is the most difficult step. Hold the bolt with one hand on one side while threading the nut from underneath with your other arm.
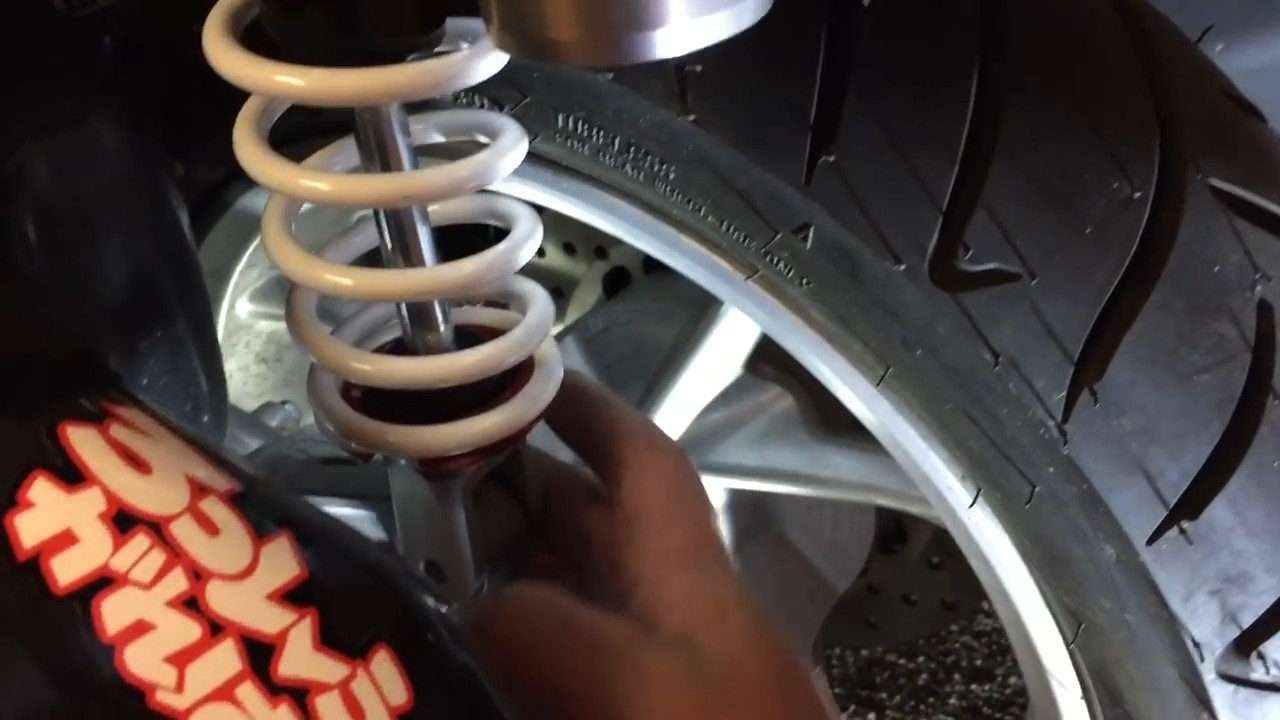
- Tighten the bottom nut — use the 14mm ratcheting spanner to snug it down.
- Reinstall the top bolt — align the shock with the mounting hole. If alignment is difficult, place your foot under the rear wheel and wiggle it slightly while agitating the bolt.
- Tighten to snug fit only — do not overtighten. Both the top and bottom fasteners should be secure but not excessively tight.
- Reattach the breather hose — reconnect the hose to the airbox.
- Reinstall the airbox bolts — thread both 10mm bolts back into position and tighten.
Right Side Shock Removal
- Access the top nut — the exhaust is in the way, so use a 12mm ratcheting spanner to remove the top nut.
- Remove the bottom nut — use a 14mm ratcheting spanner. After the nut comes a washer — remove it carefully to avoid dropping it.
- Angle the shock out — without applying excessive force or stretching any components, angle the shock at the correct position and it will come off cleanly.
Right Side Shock Installation
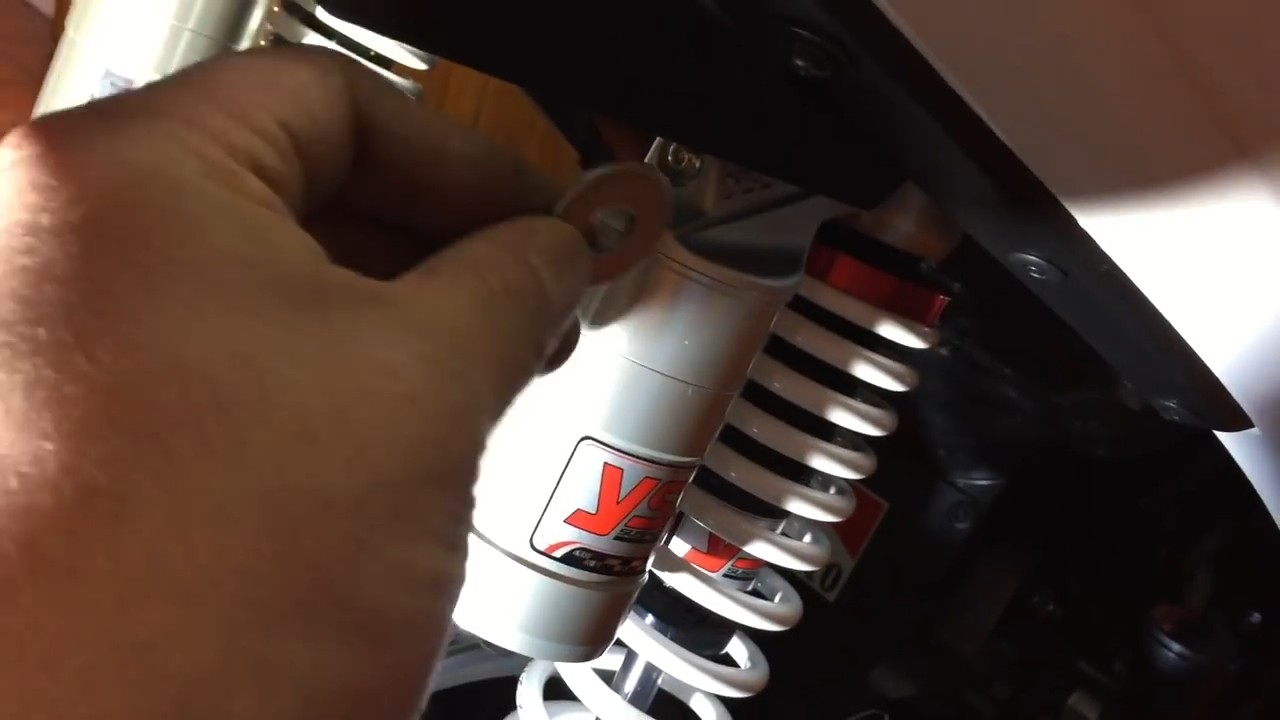
- Position the washer — place the washer on the mounting rod first.
- Install the YSS shock — angle the new shock into position.
- Thread the bottom bolt — reinstall and tighten with the 14mm ratcheting wrench.
- Install the top bolt — thread it in and tighten.
- Align the holes if necessary — if the suspension arm hole sits lower than the mounting hole, hold the shock firmly and push upward slightly until the holes align. Thread the bolt in with your other hand.
Preload Adjustment Procedure
- Loosen the locking screw — locate the small Allen screw on the preload collar. Use the included Allen wrench to turn it clockwise until the collar can rotate freely. Do not loosen it so much that it falls out.
- Adjust the preload collar — turn the collar clockwise to increase preload or counterclockwise to decrease it. Adjust based on your weight and riding preference.
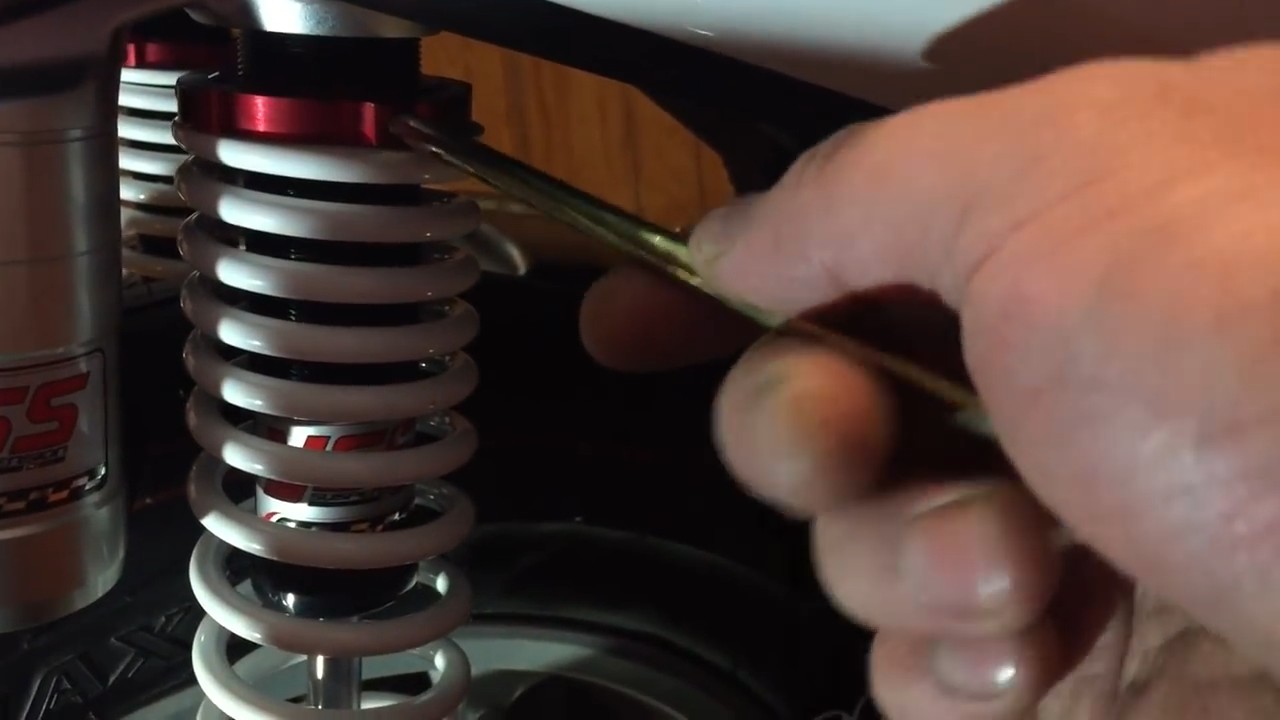
- Hand-tighten first — wind the collar by hand until it becomes too tight to turn further.
- Use the adjustment tool — insert the tool into the collar holes and turn to achieve the final adjustment.
- Measure both sides equally — use calipers to measure the gap on the adjusted shock. Match the same gap on the opposite shock. If calipers are unavailable, use a piece of paper: measure the gap, crease the paper at the measurement point, and use it as a reference for the other side.
- Tighten the locking screws — once both shocks are adjusted equally, tighten the locking screws on both preload collars.
Final Verification Checklist
- All bolts and nuts are snug but not overtightened
- Breather hose reconnected on left side
- Airbox bolts reinstalled
- Preload collars adjusted equally on both shocks
- Locking screws tightened
- Reservoir clears all surrounding components
- No parts are fouling or catching
Conclusion
The Yamaha NMAX rear shock replacement is a straightforward procedure that requires patience, the correct tools, and attention to the washer configuration on each side. The left side presents additional challenges due to the airbox obstruction, while the right side requires careful navigation around the exhaust. With the YSS G-Series upgrade installed and preload properly adjusted, the rear suspension will provide improved damping performance and ride quality.

About the Author: Gregório
Industrial Administrator & Lean Manufacturing Consultant. Technology enthusiast passionate about bridging industrial process engineering with technical publishing. With a background in waste elimination, standardized specifications, and zero-rework quality control, Gregório curates the Motor Scooter Parts technical database to provide mechanics and DIY riders with field-tested OEM torque tolerances and precision diagnostic standards.